Have you ever wondered what would happen if your generator’s low oil sensor failed at the worst possible time? Imagine the consequences—your generator suddenly shuts down in the middle of an important job, or worse, the engine seizes due to a lack of oil, leaving you with a costly repair or total replacement.
Testing the sensor isn’t a complex task. With basic tools and a little patience, you can quickly verify its functionality and avoid unnecessary downtime or expensive repairs. Let’s Best Generator For Mobile Detailing dive into the step-by-step process of how to test the low oil sensor on the generator so you can maintain your generator with confidence.
Understanding the Low Oil Sensor: What It Does and How It Works
How often do you consider the role of the low oil sensor in your generator? It’s easy to overlook this small yet essential component. However, understanding how the low oil sensor works is crucial to ensuring your generator runs smoothly and avoids costly repairs. The sensor serves as an early warning system, much like the oil light in your car, protecting the engine from running without sufficient lubrication.
In essence, the low oil sensor constantly monitors the oil level within the engine. When it detects the oil is below the safe threshold, the sensor triggers a shutdown to prevent the engine from continuing to run, which could lead to overheating or internal damage. Think of it as a protective gatekeeper that ensures the generator never operates under dangerous conditions, prolonging its lifespan. Without this safeguard, your generator could be at risk of severe damage if oil levels drop too low.
Signs of a Faulty Low Oil Sensor
If you’re experiencing unexpected generator shutdowns or persistent warning lights, it’s possible that the low oil sensor is malfunctioning. These symptoms can often mimic other engine issues, making it tricky to pinpoint the exact cause. However, a faulty sensor may trigger unnecessary shutdowns even when oil levels are adequate, leading to downtime and frustration. Recognizing these signs early can save you time and money on avoidable repairs.
Tools Needed to Test the Low Oil Sensor
Before we dive into the actual testing process, let’s make sure you have everything you need. Testing the low oil sensor on a generator doesn’t require specialized equipment, and most of the tools are probably already in your toolbox. At the very least, you’ll need a multimeter, which is essential for diagnosing electrical components like the sensor. If you don’t own one, you can easily find one at a local hardware store or online at a reasonable price.
In addition to a multimeter, you’ll need a set of basic hand tools, including screwdrivers and pliers, to access the sensor and disconnect it from the generator. Make sure you have a clean workspace, and if your generator has been running, give it time to cool down to avoid any risk of burns. With these tools in hand, you’re ready to test the sensor and make sure your generator stays in top working condition.
Step-by-Step Guide to Testing the Low Oil Sensor
Testing the low oil sensor on a generator may sound complicated, but it’s a straightforward process that anyone can manage with basic tools. You don’t need to be an expert to ensure your generator’s low oil sensor is working properly. The key is to take things one step at a time and follow a methodical approach. Not only does this testing help avoid unexpected shutdowns, but it can also prevent costly repairs down the road.

Step 1: Turn Off and Cool Down the Generator
Safety should always be your top priority when working on any engine. Before you begin, make sure the generator is completely turned off and give it time to cool down. Working on a hot engine can lead to burns or other injuries, and you want to avoid working around hot components. This step is simple but essential. Never skip it, no matter how eager you are to get started.
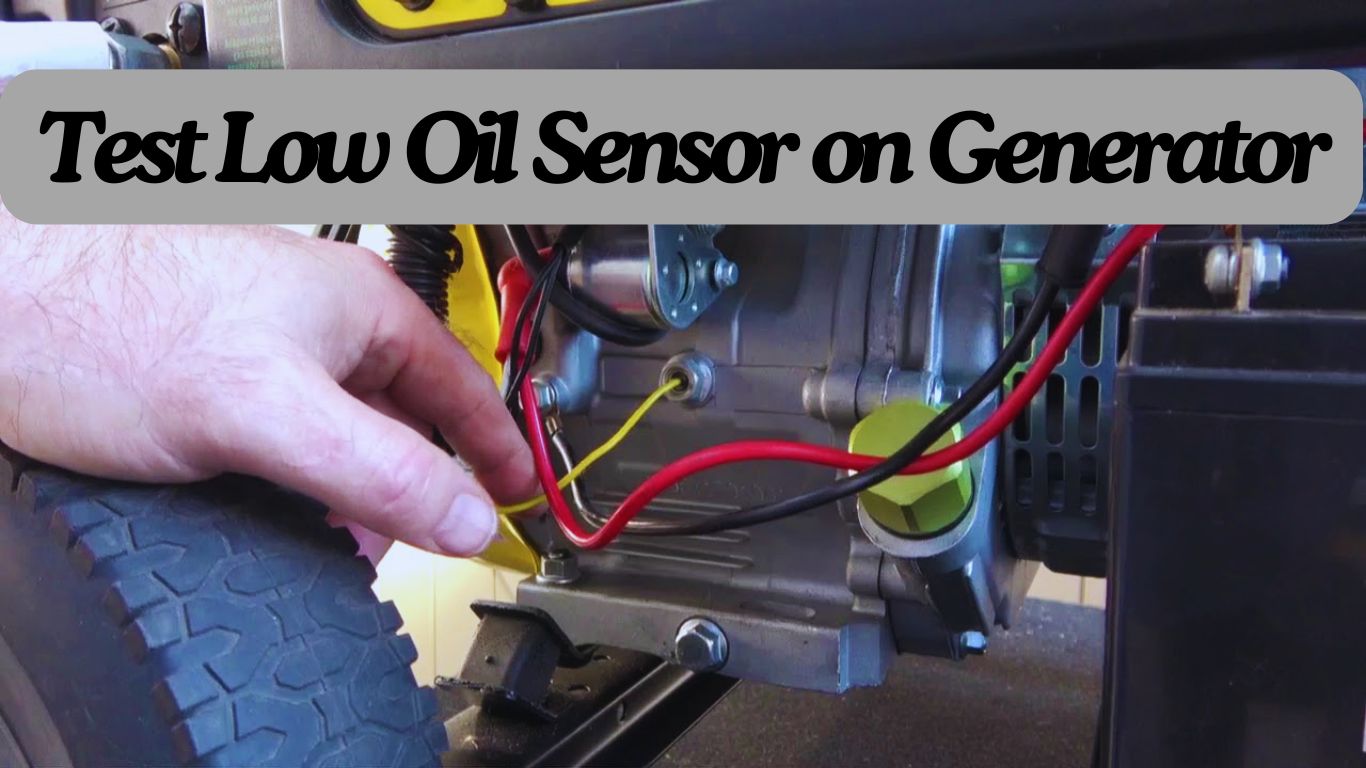
Step 2: Locate the Low Oil Sensor
The next step is to locate the low oil sensor. Depending on the make and model of your generator, the sensor may be in different locations. Usually, it’s positioned near the oil reservoir, but be sure to consult your generator’s manual if you’re having trouble finding it. Take your time here, as accessing the sensor can sometimes require removing a few parts. Keep things organized so that reassembly is easy.
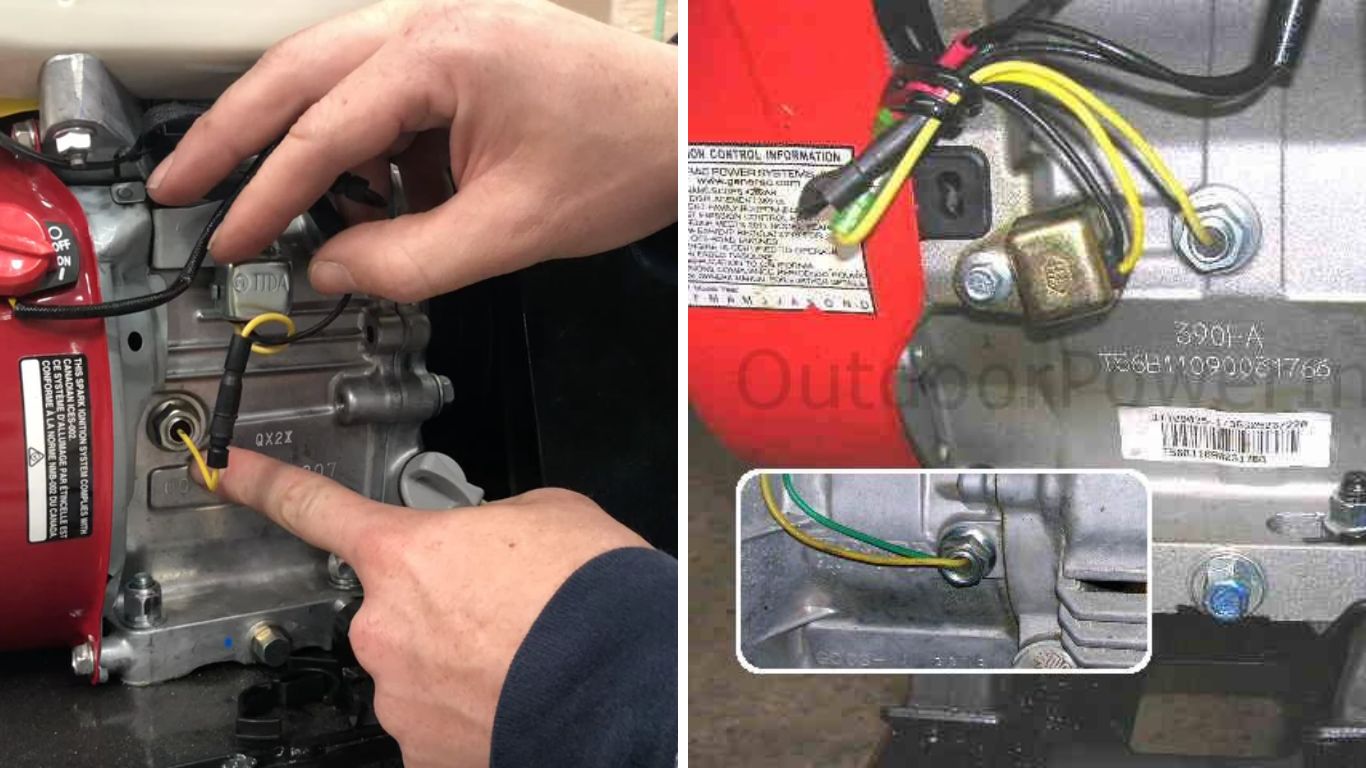
Step 3: Disconnect and Inspect the Sensor
Once you’ve located the sensor, the next step is to disconnect it. Carefully use your tools to remove any screws or clips holding it in place, and gently pull the sensor free. Now that it’s out inspect it visually. Look for any obvious signs of wear or damage, like cracks or corrosion. If the sensor appears damaged, it may need to be replaced, but first, we’ll test it with a multimeter to confirm its status.

Step 4: Use a Multimeter to Test the Sensor
Now for the critical step. The multimeter is the tool that will tell you if the sensor is working as it should. Set your multimeter to the appropriate setting to test for continuity. Attach the multimeter leads to the sensor terminals and check the reading. If the reading falls within the expected range, the sensor is functioning properly. If not, it’s time to replace it. Don’t worry—multimeter use is straightforward, and with a little practice, you’ll be testing like a pro.
Step 5: Reconnect the Sensor and Test the Generator
After you’ve finished testing the sensor, it’s time to reconnect it to the generator. Follow the reverse steps of disassembly, ensuring that everything is securely fastened. Once everything is back in place, start the generator and let it run for a while. This final step confirms whether the sensor is working under load, giving you peace of mind that your generator won’t shut down unexpectedly.
Common Issues and Troubleshooting Tips
When testing the low oil sensor on your generator, things don’t always go as planned. There are a few common issues that can arise during the process. One of the most frequent problems is faulty wiring. If the connections leading to the sensor are frayed or loose, it can give false readings, even if the sensor itself is functioning properly. Always check the wiring before testing the sensor to ensure you’re not misdiagnosing the issue.
Another common problem is incorrect multimeter readings. It’s important to set the multimeter to the correct setting for continuity testing. If you receive an unexpected reading, double-check your settings and connections. A misconfigured multimeter can lead to incorrect conclusions about the sensor’s health.
Finally, there may be cases where the sensor itself is fine, but the oil levels are too low. Before concluding that the sensor is faulty, ensure that the oil in the generator is at the recommended level. A simple check could save you the hassle of unnecessary sensor testing or replacement.
FAQ Section
Q: What happens if I don’t test my low oil sensor?
A: If you neglect to test the low oil sensor on your generator, you risk major engine damage. The sensor’s job is to protect the engine by shutting it down when the oil level gets dangerously low. If it fails and you don’t catch it, the engine could run without sufficient lubrication, leading to overheating and severe internal damage. Regular testing ensures your sensor functions correctly, providing that essential safety net.
Q: How often should I test the sensor?
A: I recommend testing the sensor at least once a year or more frequently if you rely on your generator for critical tasks. Environmental factors, such as dust or extreme weather, can affect the sensor’s performance. If you notice your generator shutting down unexpectedly or the warning light flickering, don’t wait—test the sensor immediately.
Q: Can I test the sensor without a multimeter?
A: While it’s possible to check the sensor by observing symptoms or physically inspecting it, a multimeter provides the most reliable test. Without it, you may miss subtle issues, like inconsistent performance or faulty wiring, which a multimeter can detect easily. If you’re serious about maintenance, investing in a multimeter is worthwhile.
Conclusion
Testing the low oil sensor on your generator is one of those small yet vital tasks that can save you from significant headaches down the line. By regularly testing the sensor, you can avoid unexpected shutdowns or, worse, engine damage that leads to expensive repairs. A faulty sensor left unchecked might lead to catastrophic failure, turning a minor issue into a costly situation.
Test the low oil sensor as part of your regular maintenance schedule. Just like you wouldn’t ignore your car’s warning lights, you shouldn’t overlook the health of your generator’s safety mechanisms. Whether you’re using your generator for work or emergencies, knowing that it’s protected from oil-related issues gives you peace of mind.
I encourage you to take action now—test your sensor and ensure your generator is operating at peak efficiency. If you have questions or want to share your experience, feel free to reach out. Your generator’s longevity depends on it!
Marion Woods is an accomplished generator technology expert with over 15 years of experience, currently serving as the Chief Technology Officer at GenTech Power Solutions. She holds a Master’s degree from MIT and specializes in enhancing generator efficiency and integrating renewable energy sources. Marion is a respected author and speaker in the engineering community, dedicated to pioneering sustainable power solutions.
1 thought on “How to Test Low Oil Sensor on Generator?”